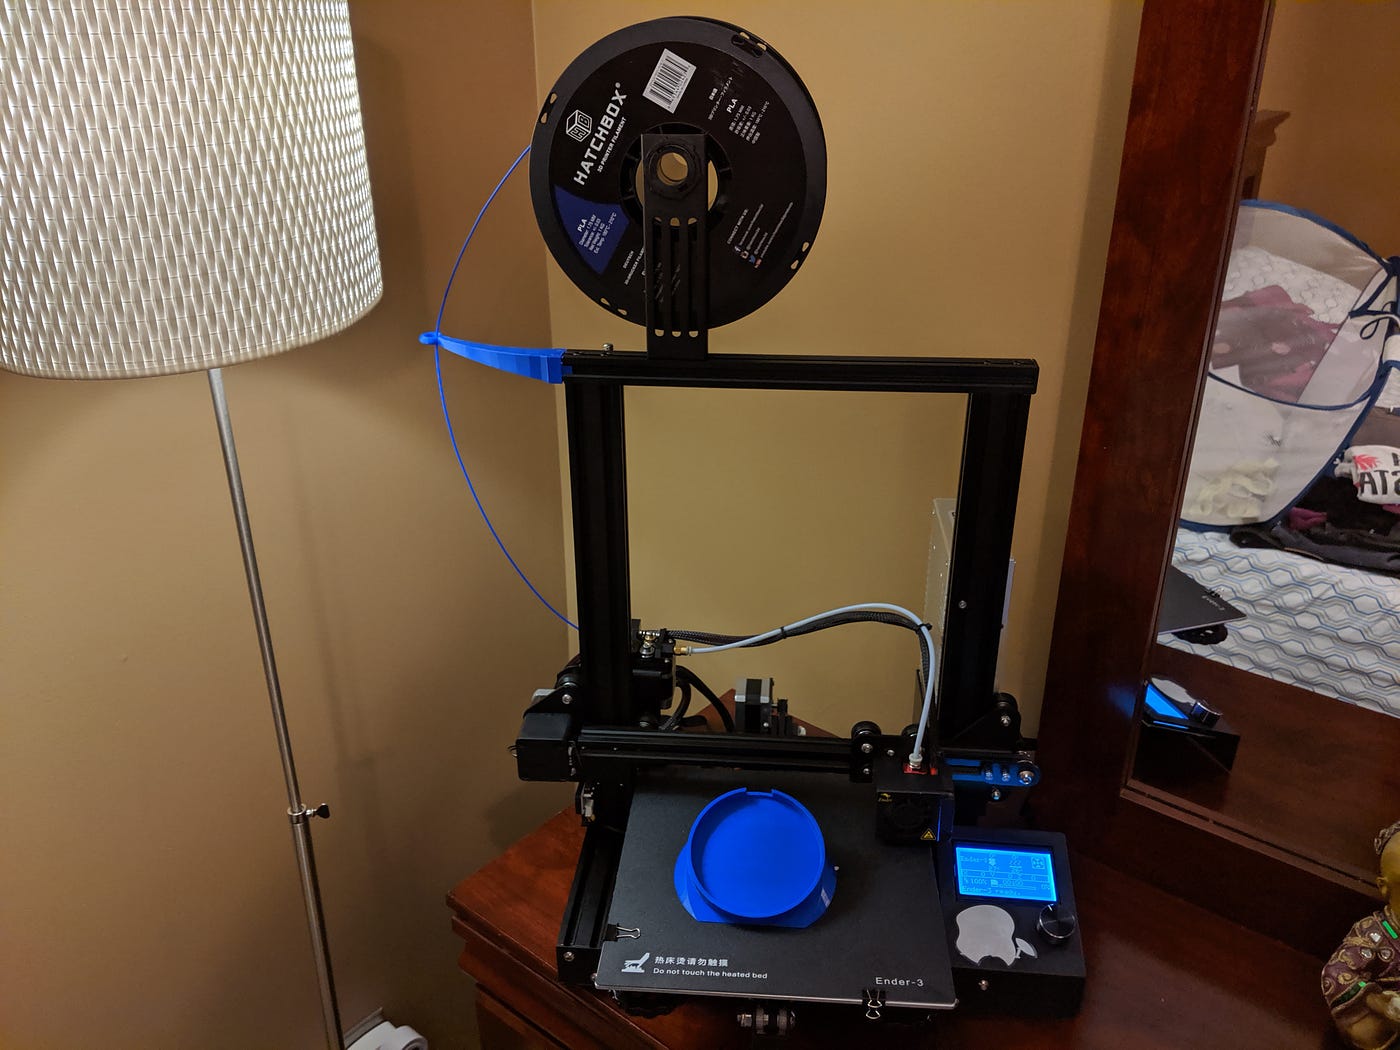
Is it time for 3D printers to go mainstream? For years, 3D printers have remained a niche product, with only a few marketed to the general public, usually at exorbitant prices or with limited capabilities. However, the landscape is changing as prices have dropped and quality has significantly improved, making them a more viable option for everyday consumers. The Ender3, in particular, stands out as a prime example of a 3D printer that strikes a perfect balance between affordability, support from the open-source community, ubiquity, and reliability. It has a strong user base, with various open-source firmware available to enhance its performance, even on its basic motherboard. Additional functionalities like auto bed leveling and wireless printing can be easily integrated using open-source hardware such as the Pi, Arduino, and Creality's offerings. Online platforms like YouTube and Reddit are teeming with helpful how-to guides, further making the learning curve manageable for newcomers.
I bought the printer with the intention of designing and printing my creations, but surprisingly, after 10 prints, I haven't needed to design anything myself. The online 3D warehouse website, Thingiverse.com, has been around for over a decade, and its community of users has contributed an extensive collection of "3D things." Thanks to this resource, I can easily find and print a wide range of practical items right out of the 3D printer box. While some may prefer designing their own creations, I belong to the "if it's already designed, why bother" group, and so far, Thingiverse has provided everything I needed. The platform offers an almost endless list of useful items that can be printed, and the value I get from printing them could potentially justify the cost of the printer and the materials consumed.
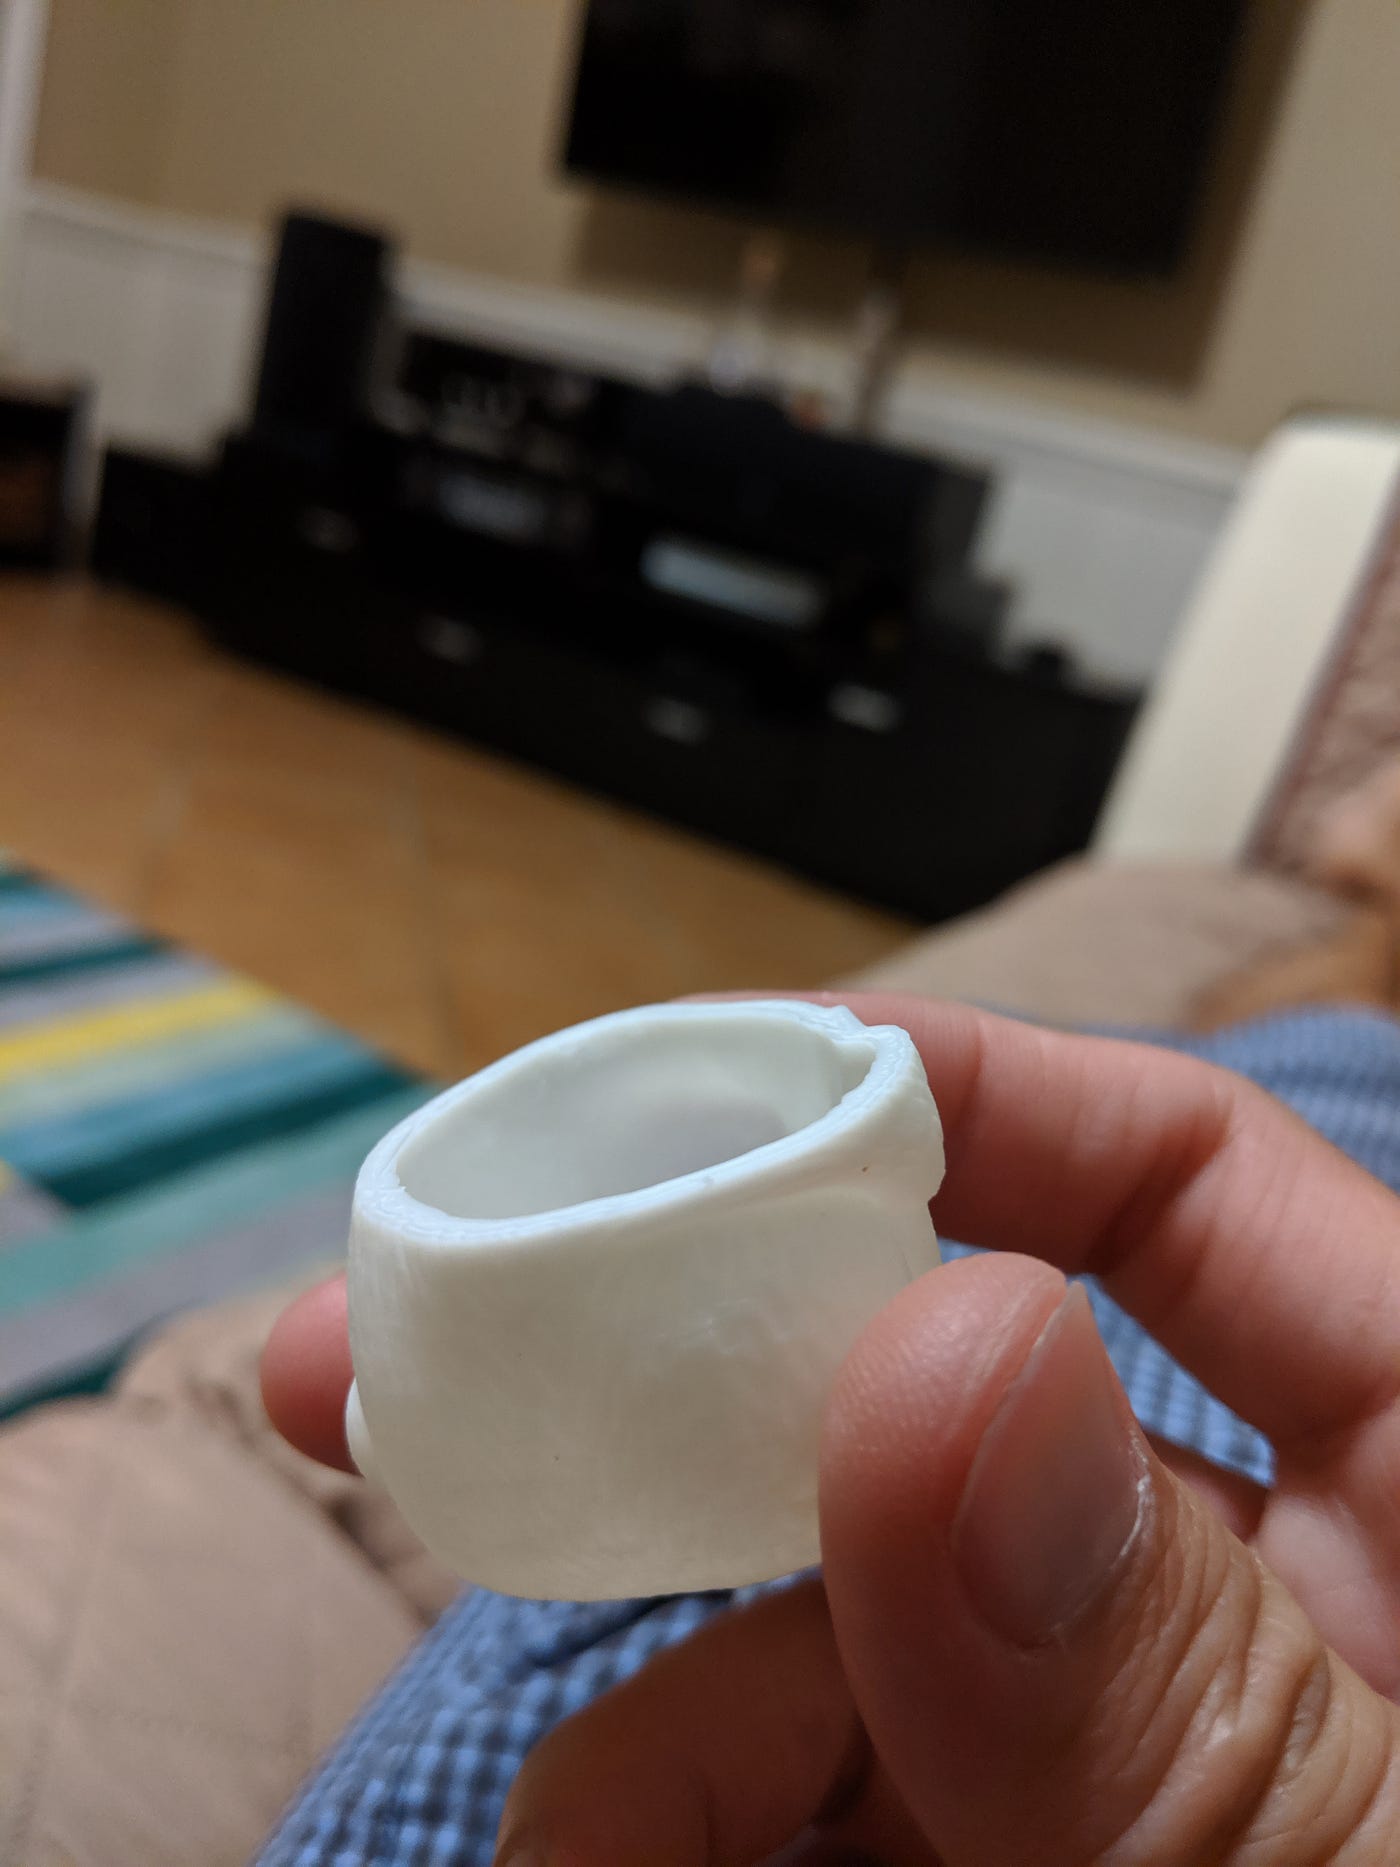
I purchased the printer from Amazon for approximately $230.00, and after about an hour of assembly, it was up and running, successfully printing the "cat" model file included on the micro SD card that came with it. The initial print looked clean and well-rendered without requiring any additional tweaks. The package even included enough filament to complete one-third of the cat model. Excited by the successful print, I was eager to explore and print more creations!
The first few prints:
My first print immediately got me excited to buy a whole spool of PLA filament. I chose blue. PLA is not expensive it is just $20.00 per spool with 1kg worth of material.
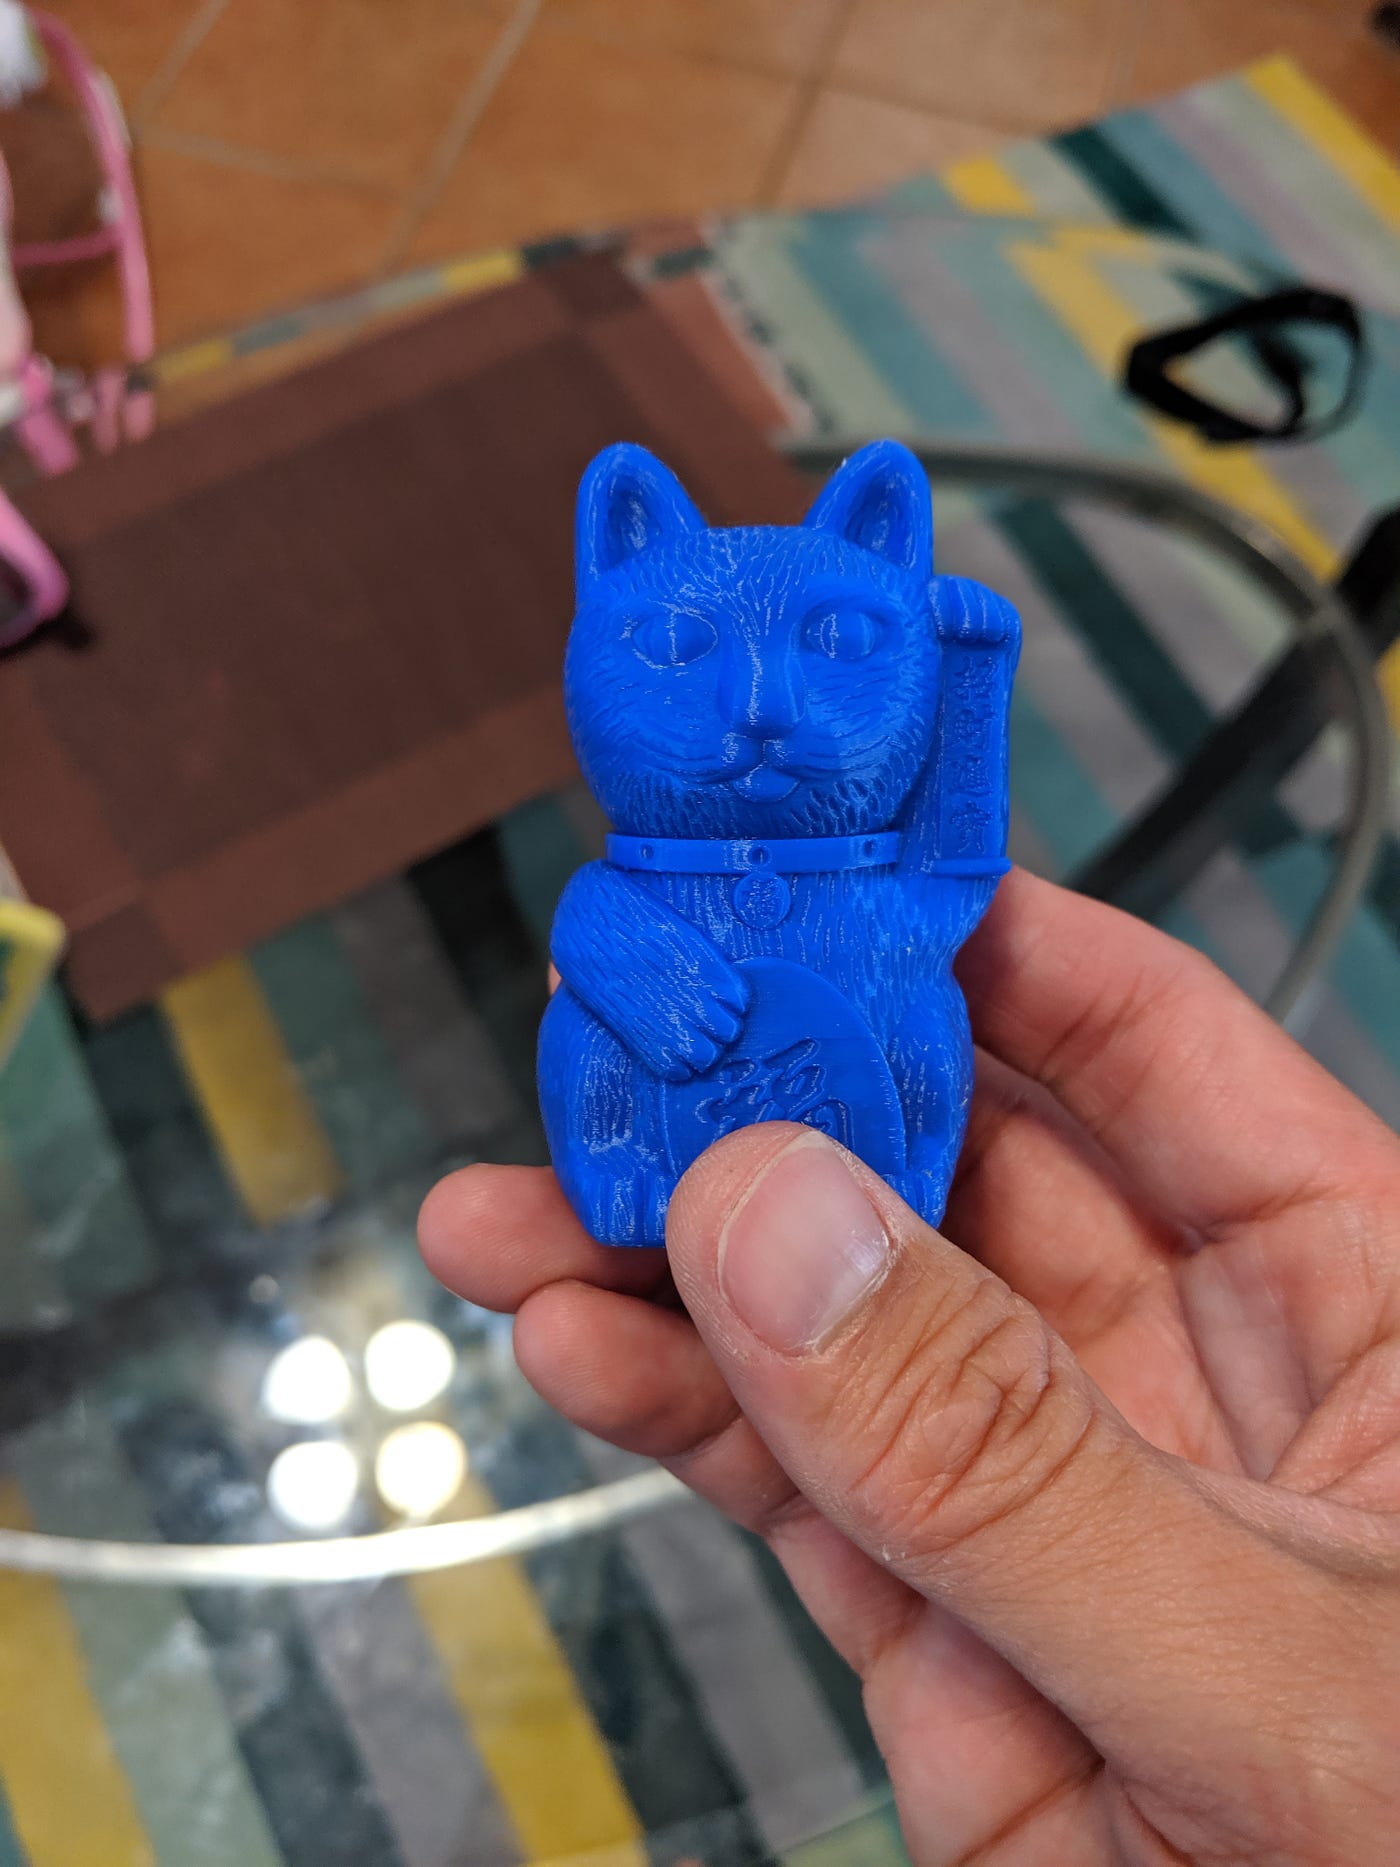
1st print - Cat toy: After printing a 1/3 cat I felt I had to print a whole one.
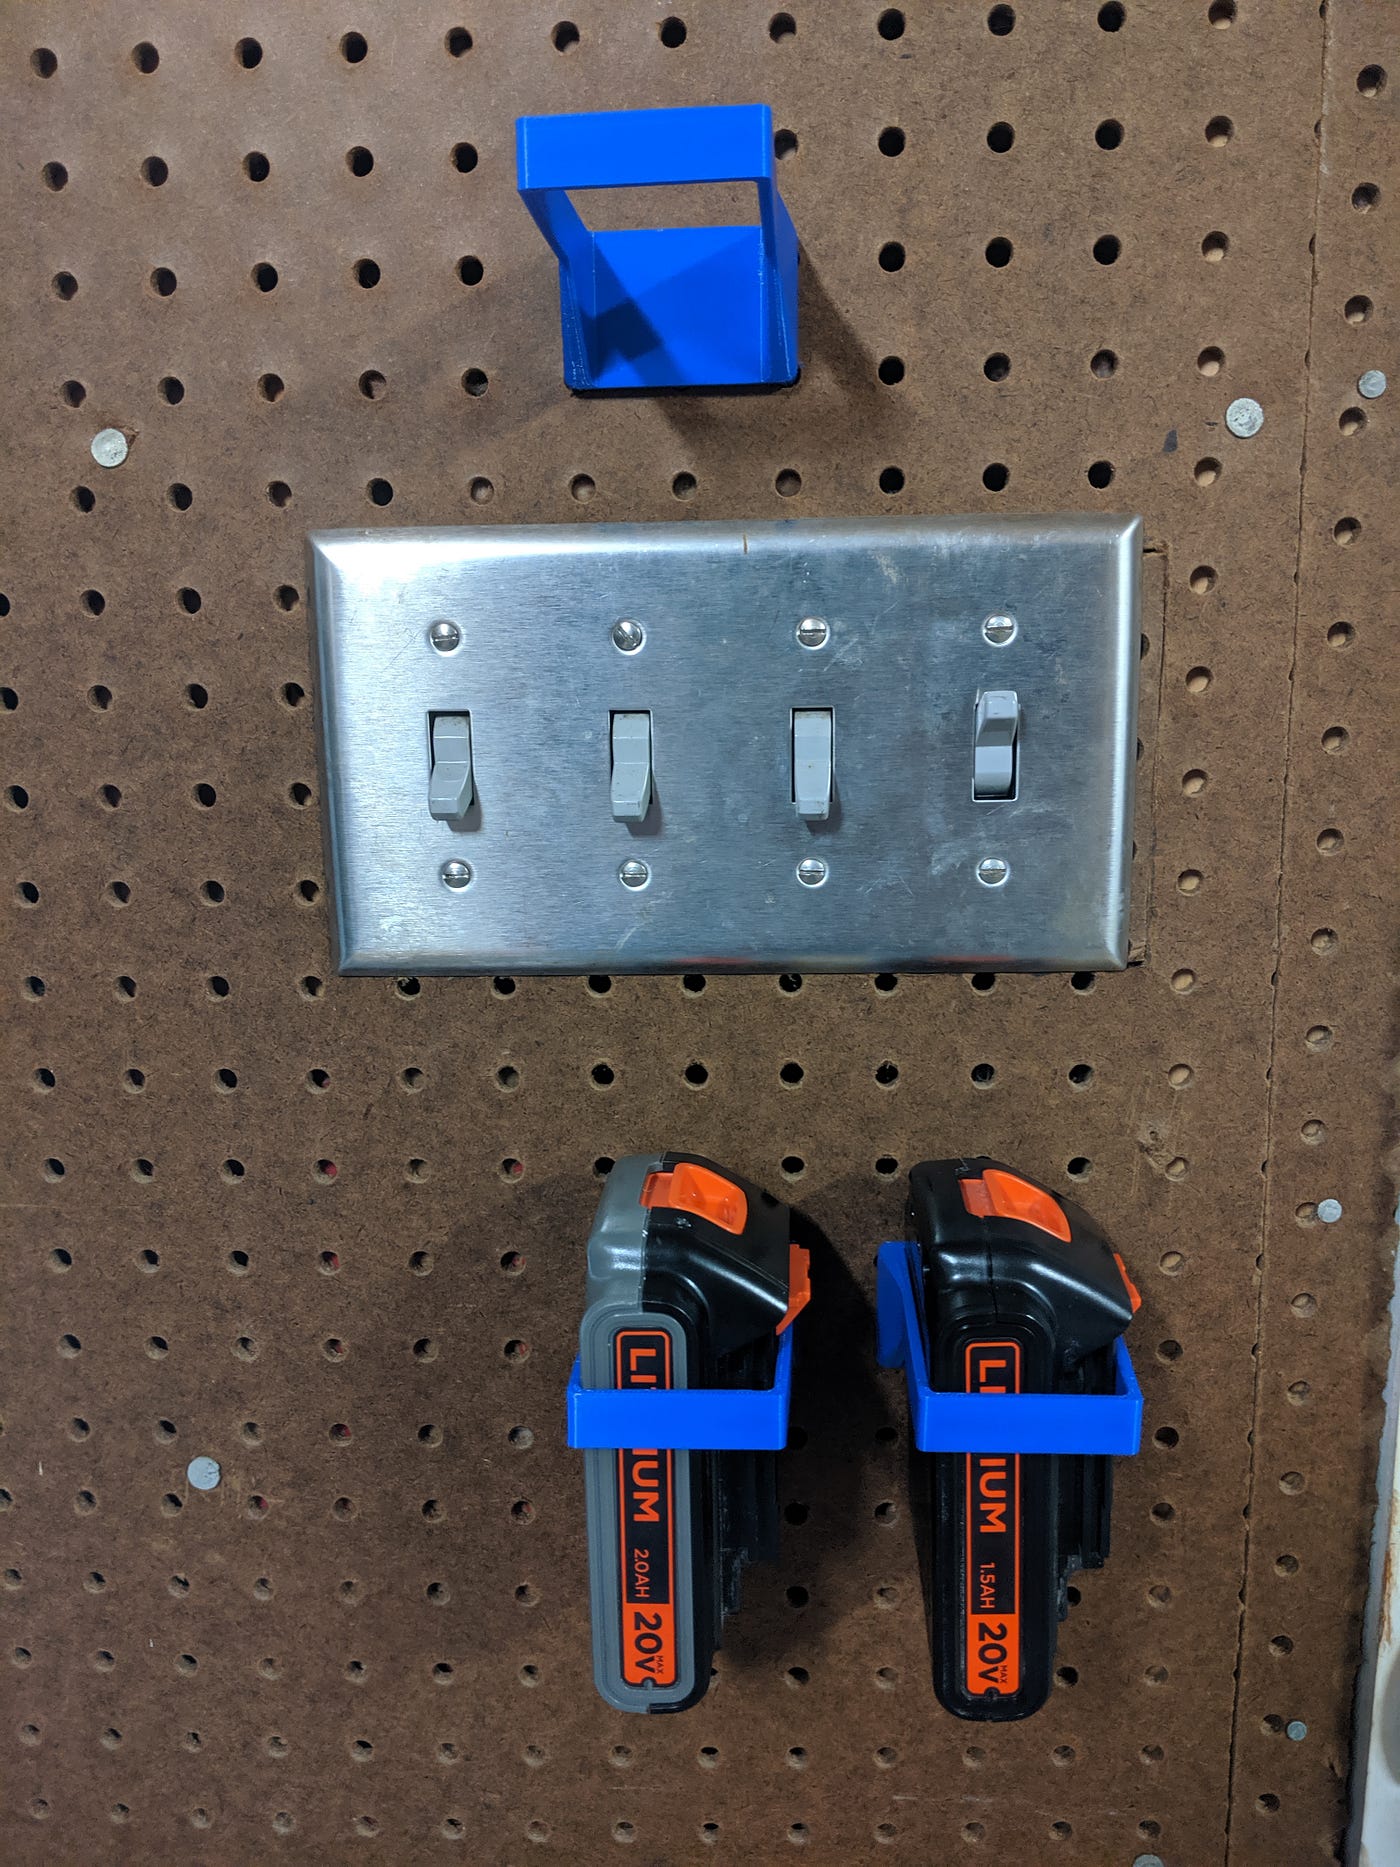
Pegboard mounts for Black and Decker batteries
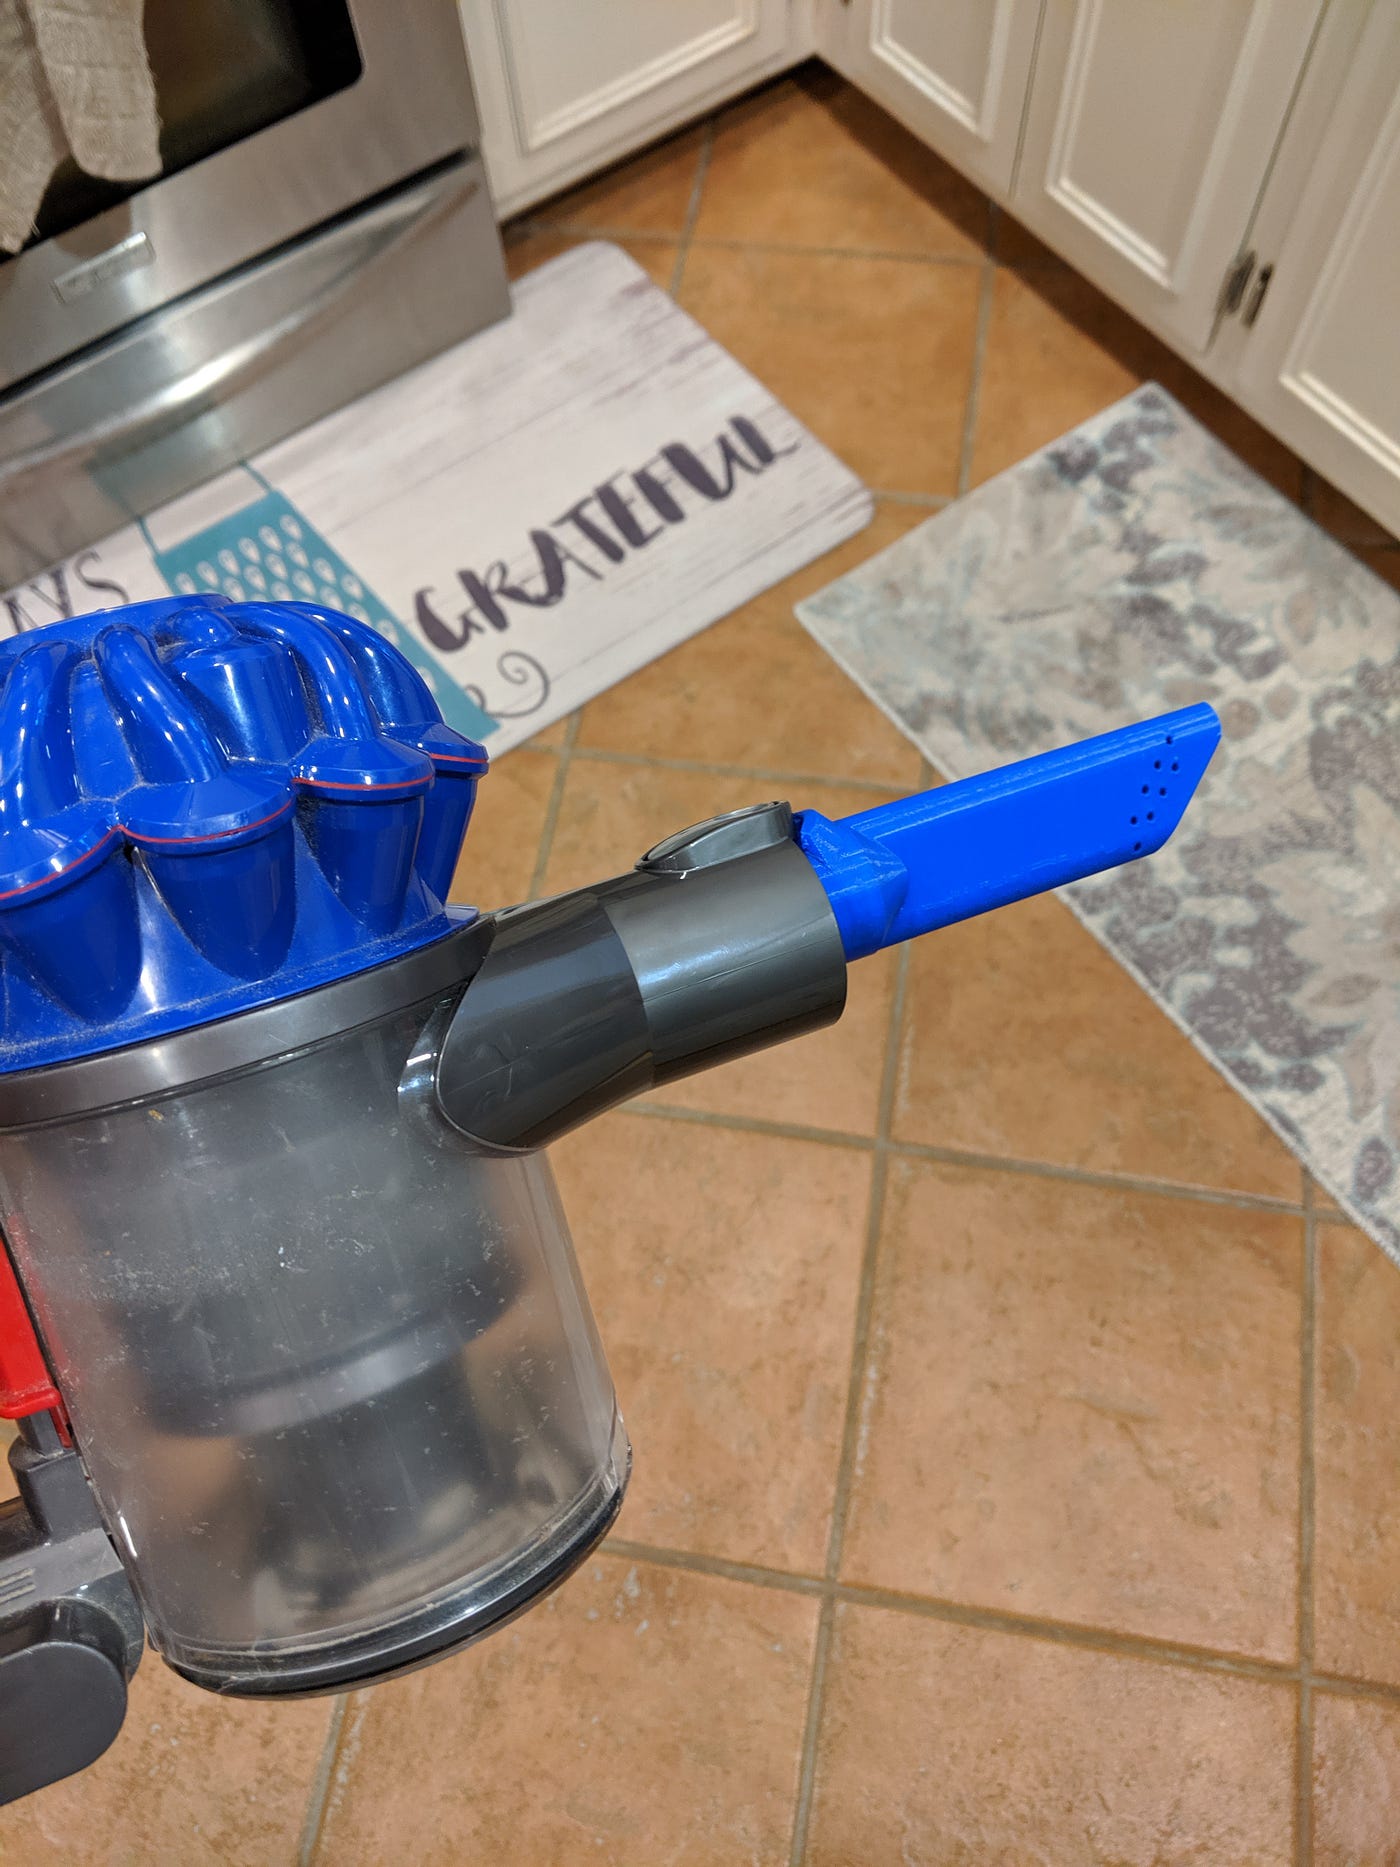
Dyson Nook tool 1
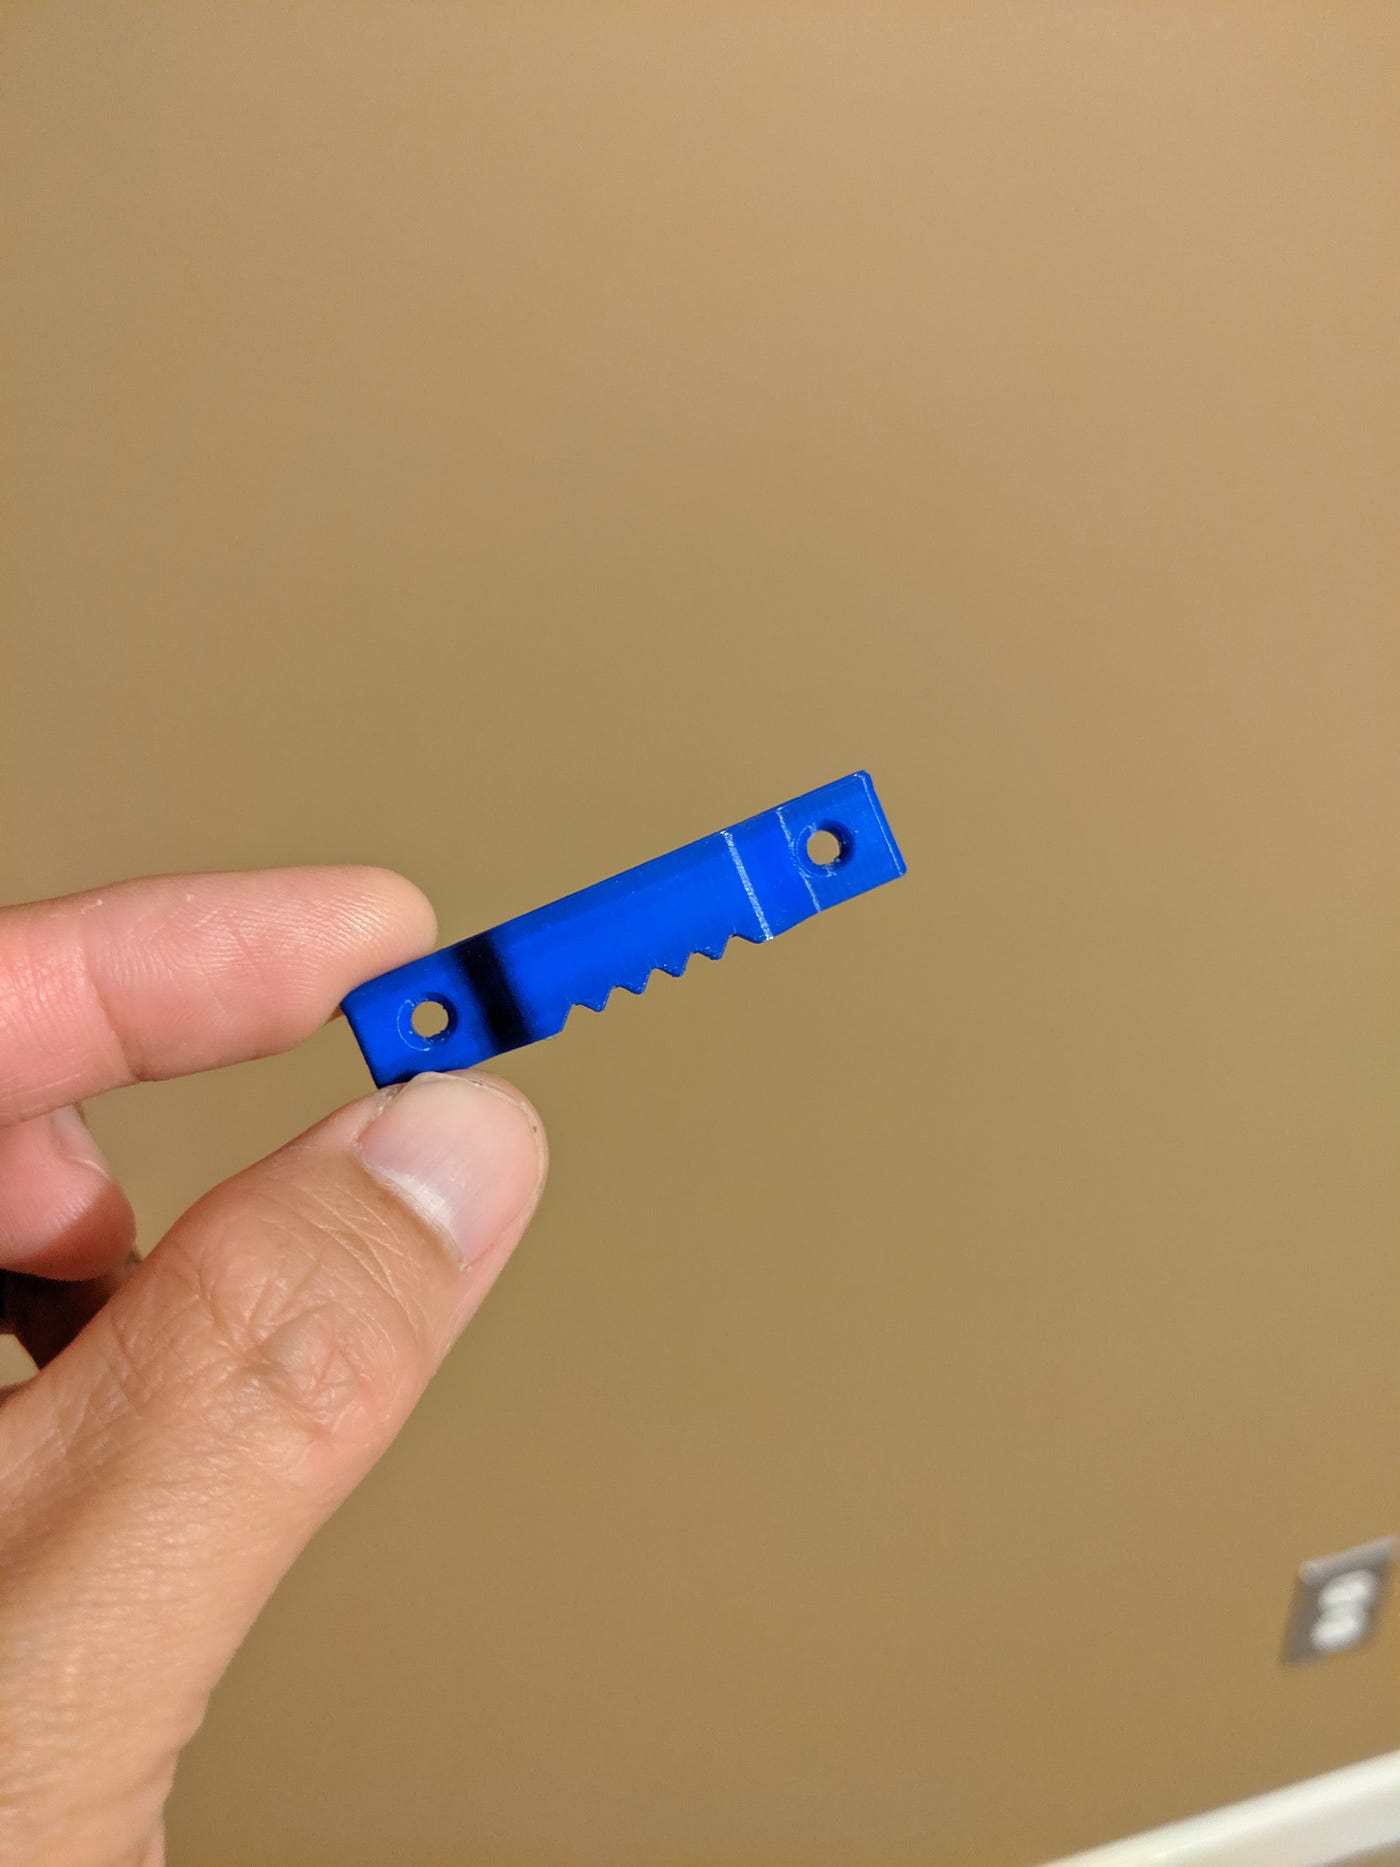
Frame hanger
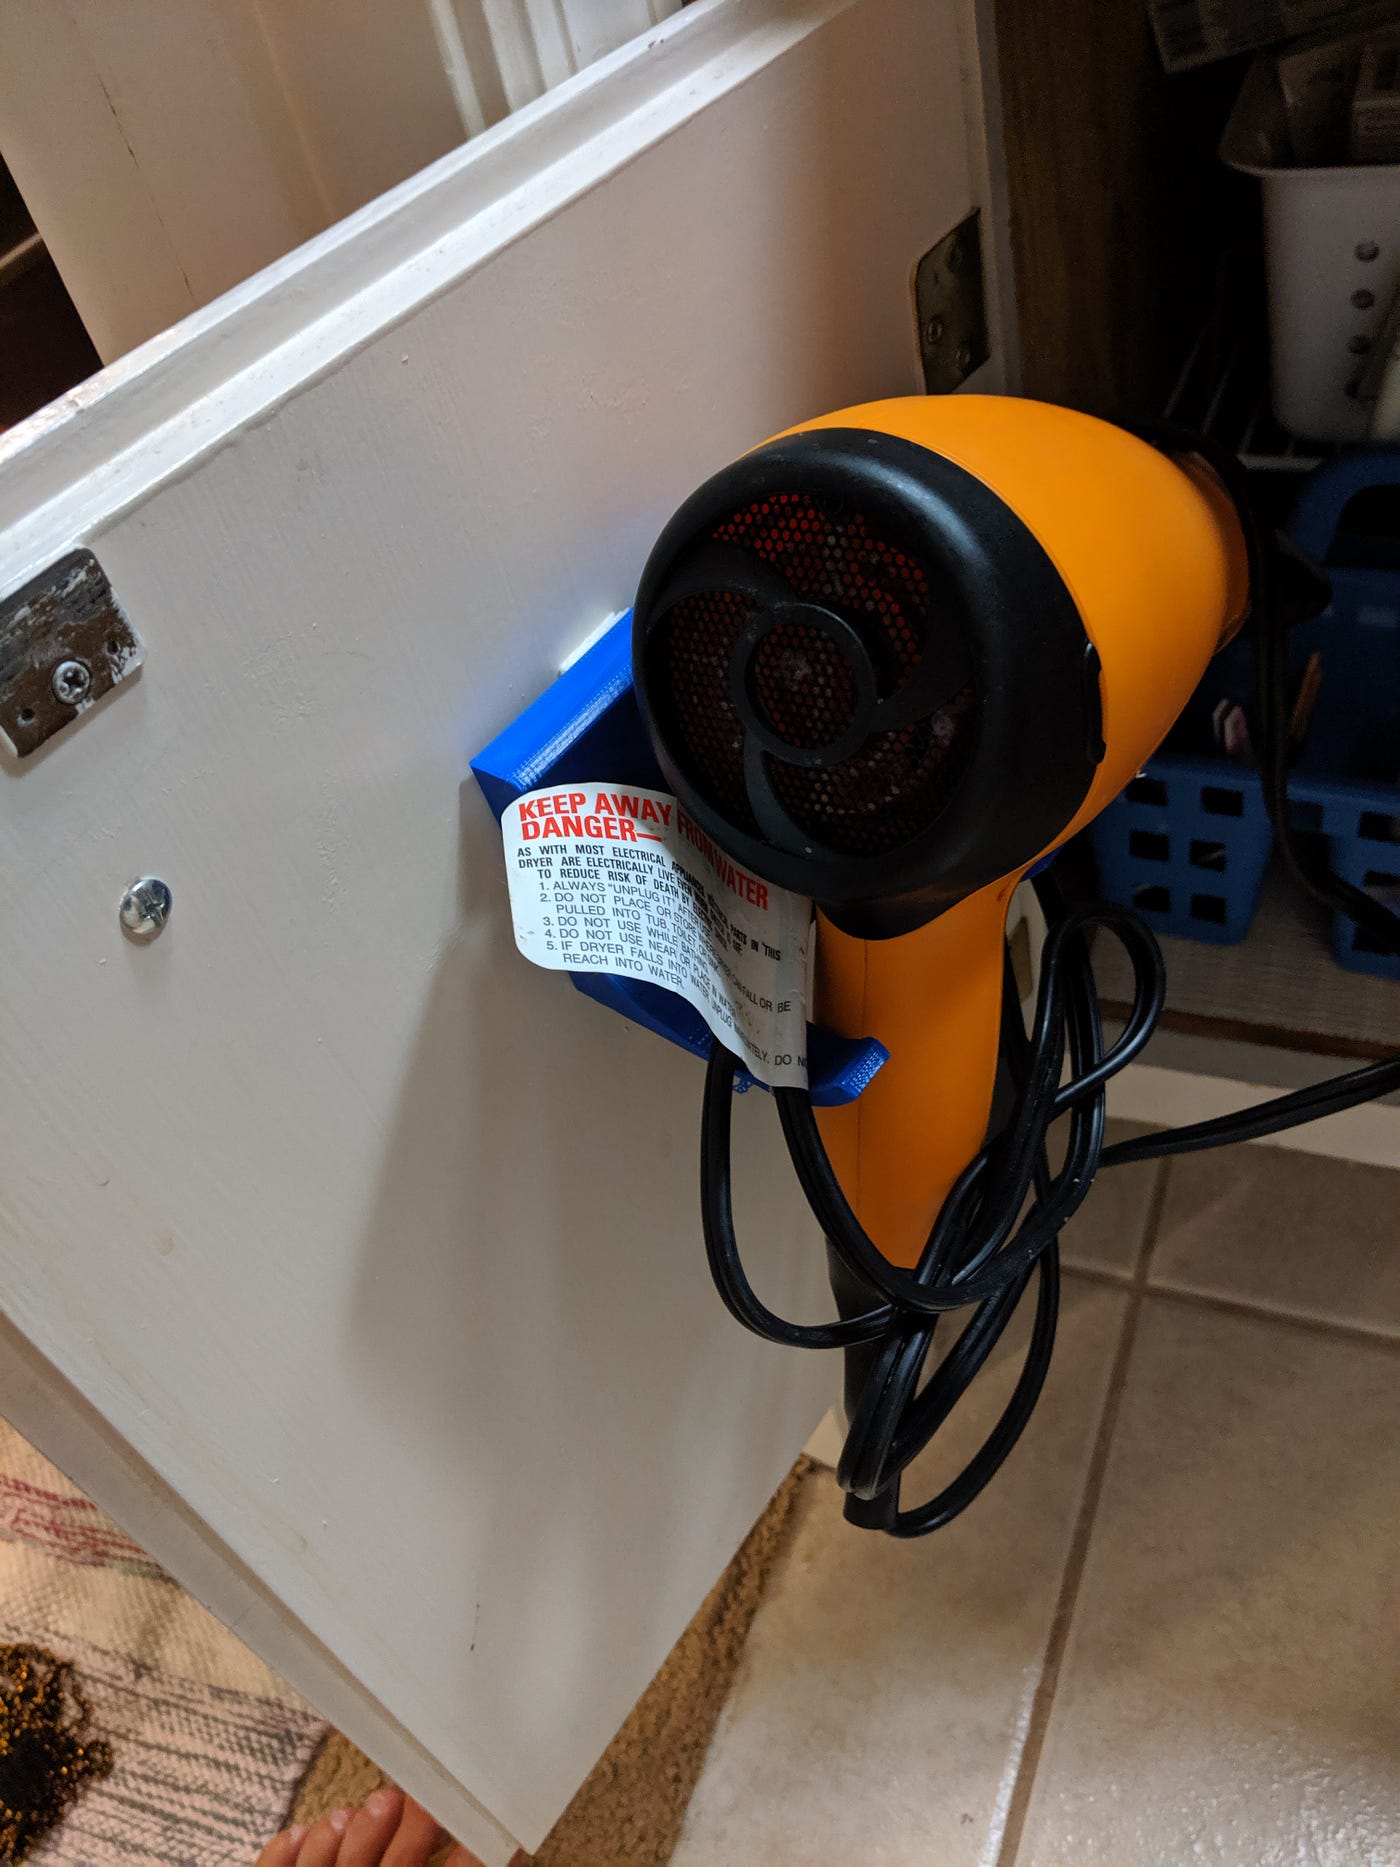
Hair dryer hanger
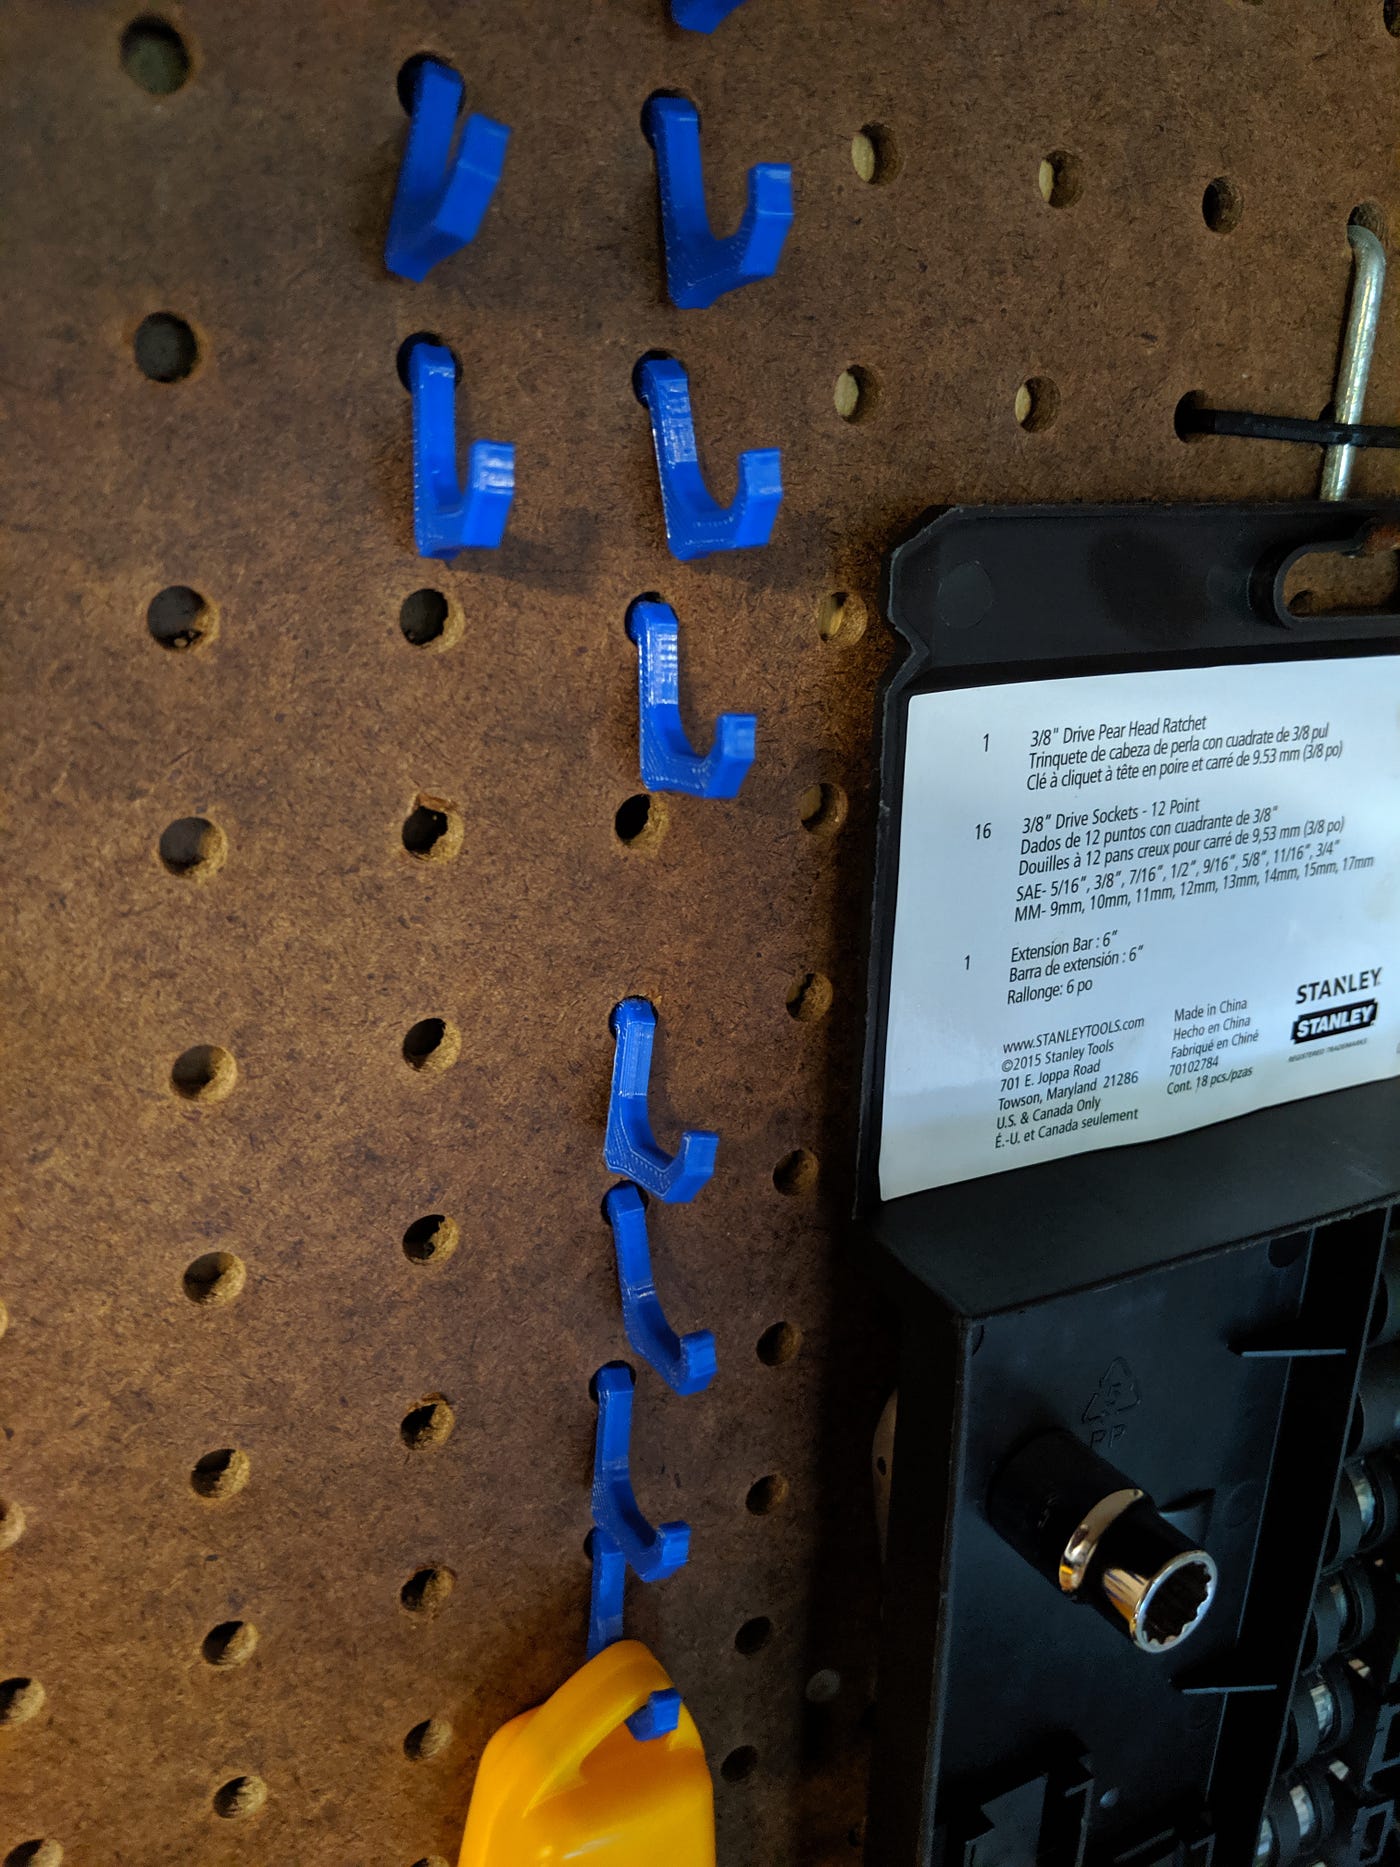
Peg hooks
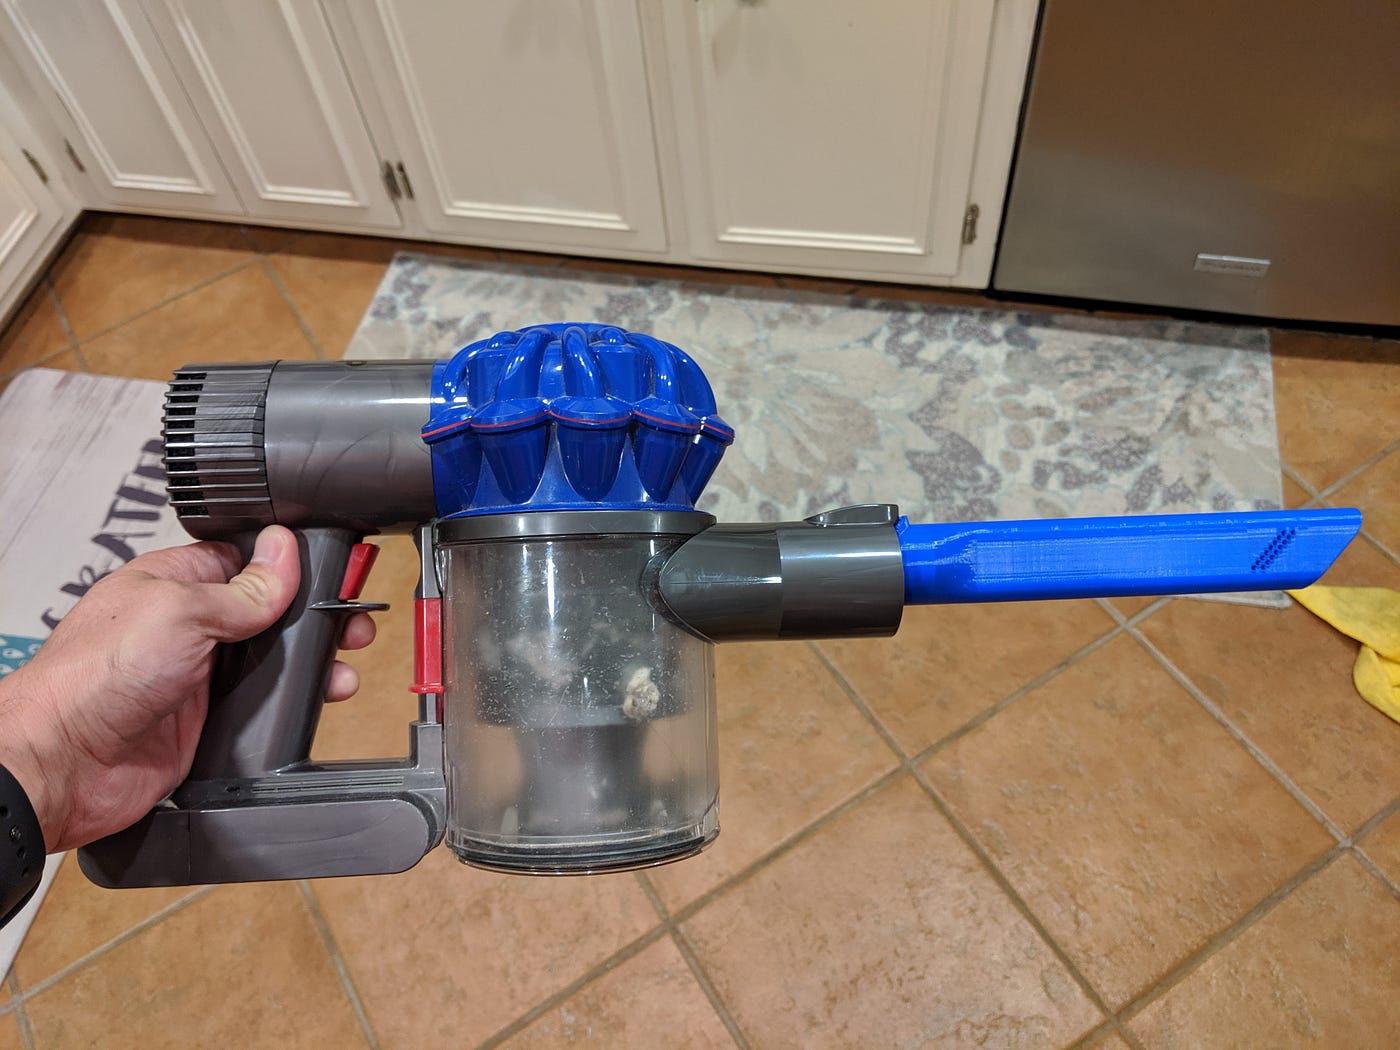
Longer dyson nook tool
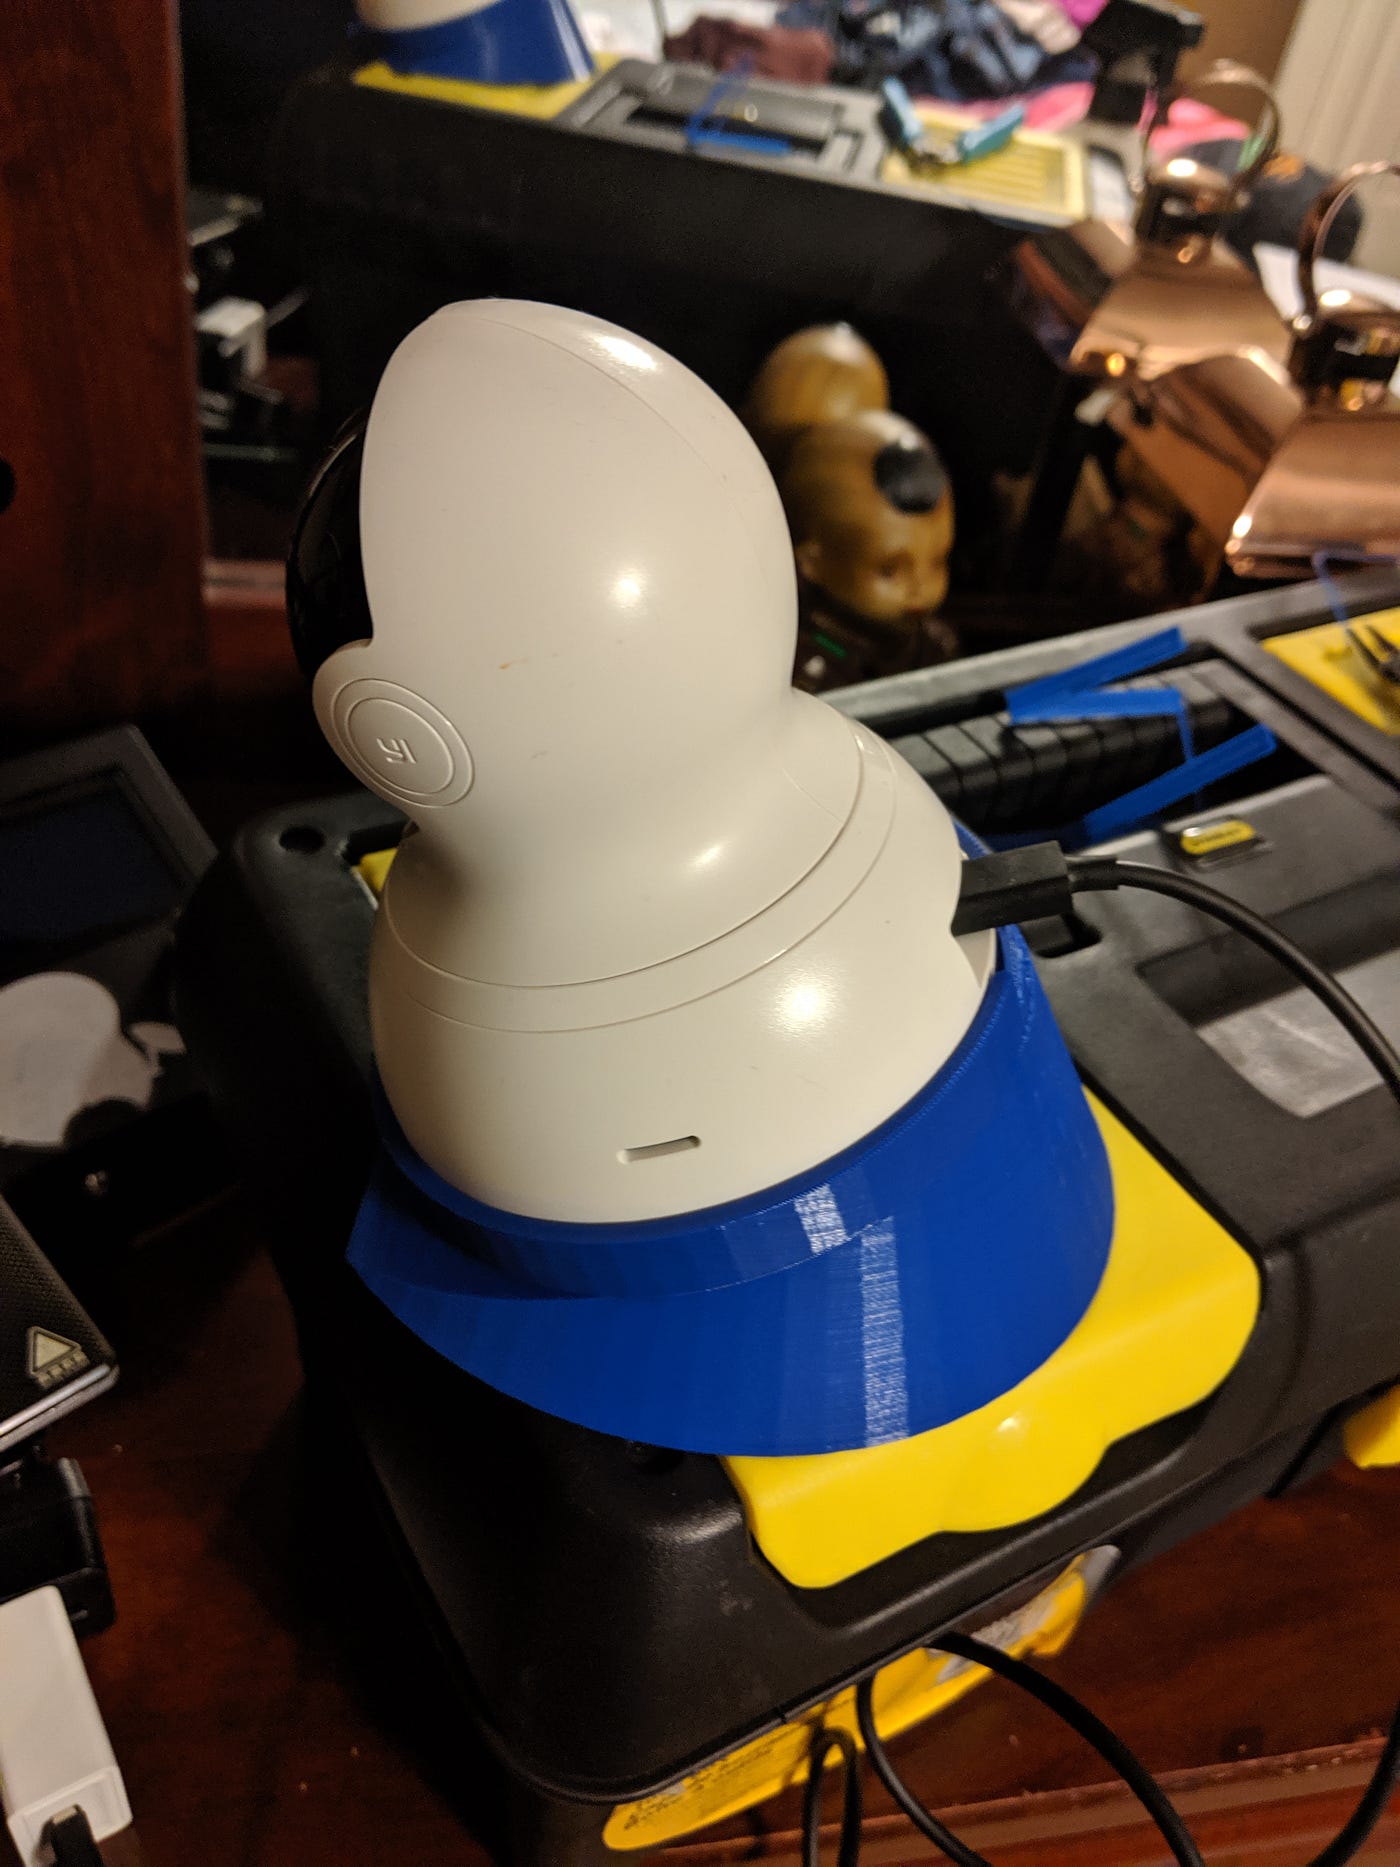
Yi camera tilt mount
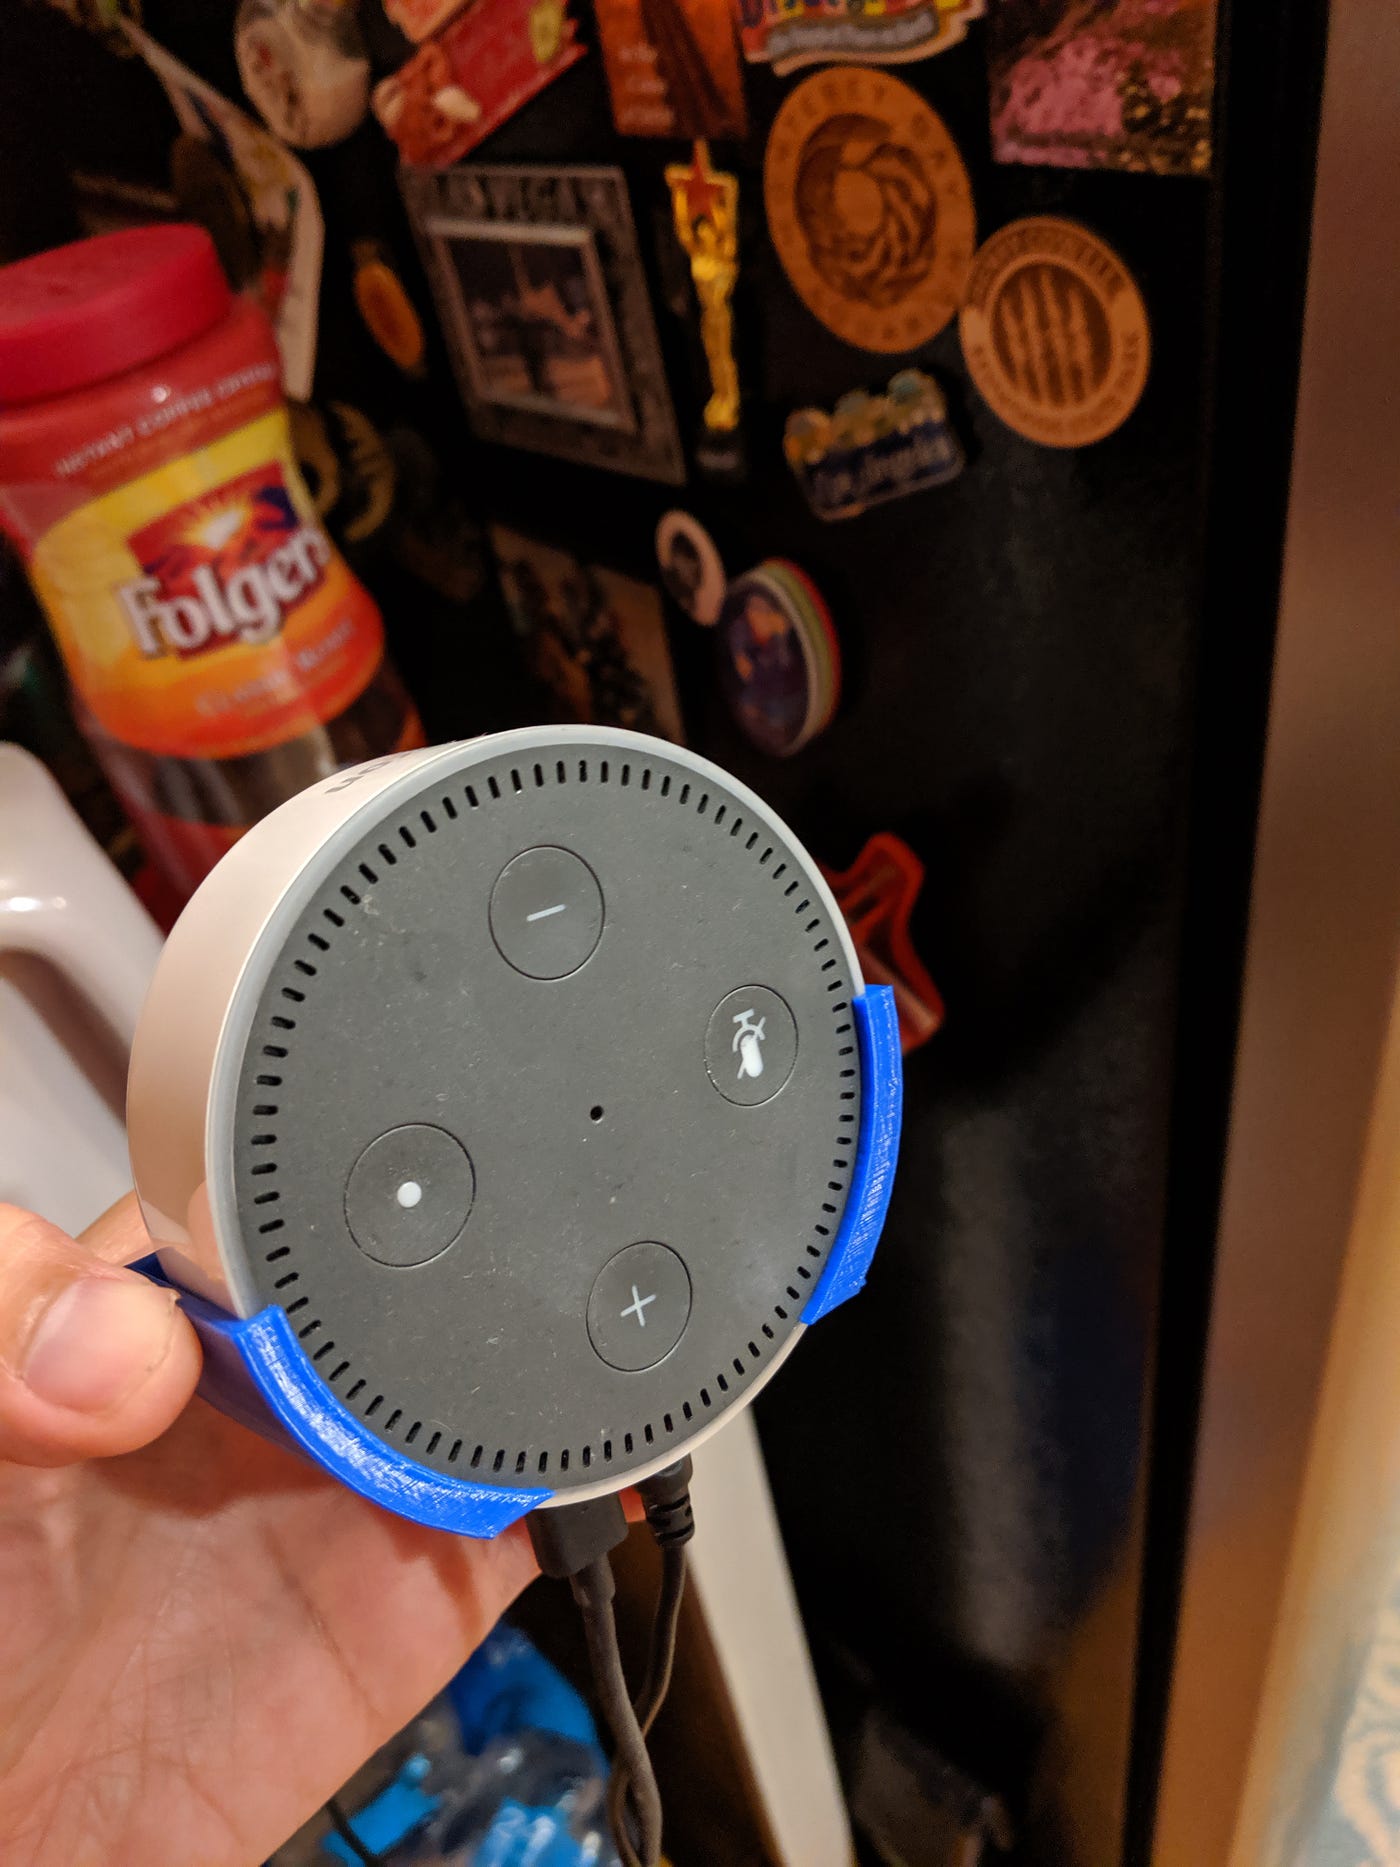
Echo dot holder
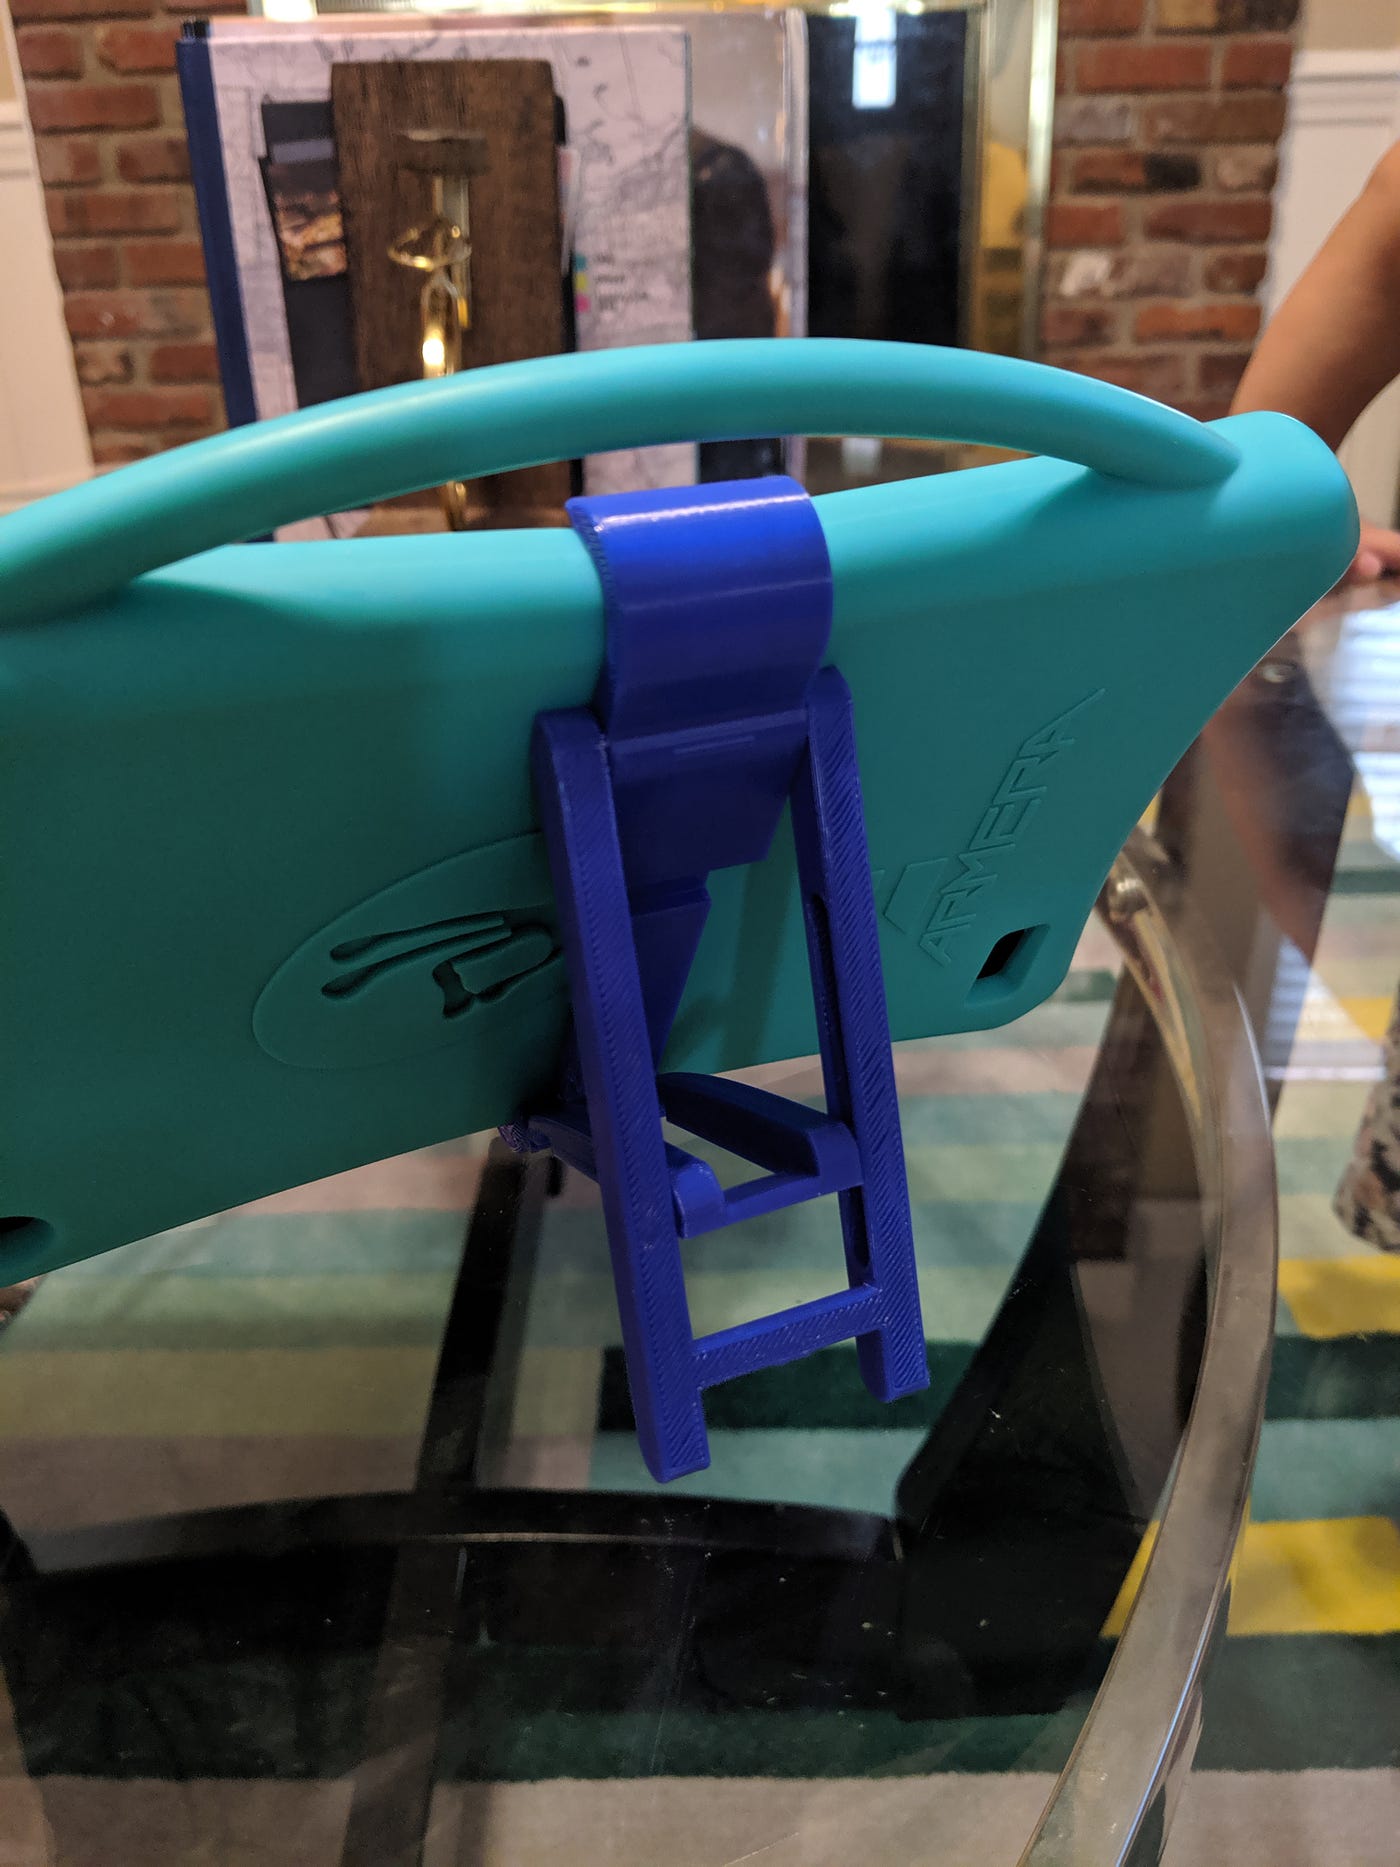
Kindle fire clip-on stand
3D printing is like ordering from Amazon, but cooler. The process can take hours or even a day for larger models, similar to waiting for one-day shipping or faster, depending on what you're printing. Despite the wait, the end result is satisfying as you get a physical object from something digitally created.
Upgrades:
The Ender 3 printer works fine out of the box, but over time, you may encounter a weak spot - the need for precise 3D axis alignment. Achieving a perfectly level printing bed is crucial for successful prints. The Ender 3 uses spring and screw mechanisms for bed leveling, which can be a tedious process, requiring periodic adjustments.
However, if you find bed leveling cumbersome, there's a solution - the BL touch add-on. For around $50, you can purchase a specific kit for the Ender 3, which includes the following items:
- ISP programmer
- BL touch sensor
- Wiring for the BL touch
- An adapter to attach it to the main board
- A mounting plate for the BL touch on your printer
I advise you to follow these steps. Don’t watch the YouTube video that describes how to upgrade your Ender 3 with a BL touch version 3 before you read this. Especially if you are just starting, most of the information there will just confuse you. The simplest way to get this done is to download a specific HEX file and just upload it like you're upgrading firmware. This information is actually in the video here.
https://www.youtube.com/watch?v=sOFxalLOZOI
With the HEX you just purchased and downloaded. Use the instructions to upload above via the PROISP updater.
After successfully uploading the firmware, you'll notice that your printer boots up with a different screen, indicating that it can now utilize the bed leveling system. At this point, you can proceed to install the BL touch hardware. Use the instructions that came in the box or use the videos you can find on YouTube about installing the bl touch.
To accommodate the additional hardware, you'll need to print a new cover, which you can find at the following link:
https://www.thingiverse.com/thing:3643680. This cover allows you to relocate the fan to create enough space for the BL touch installation.
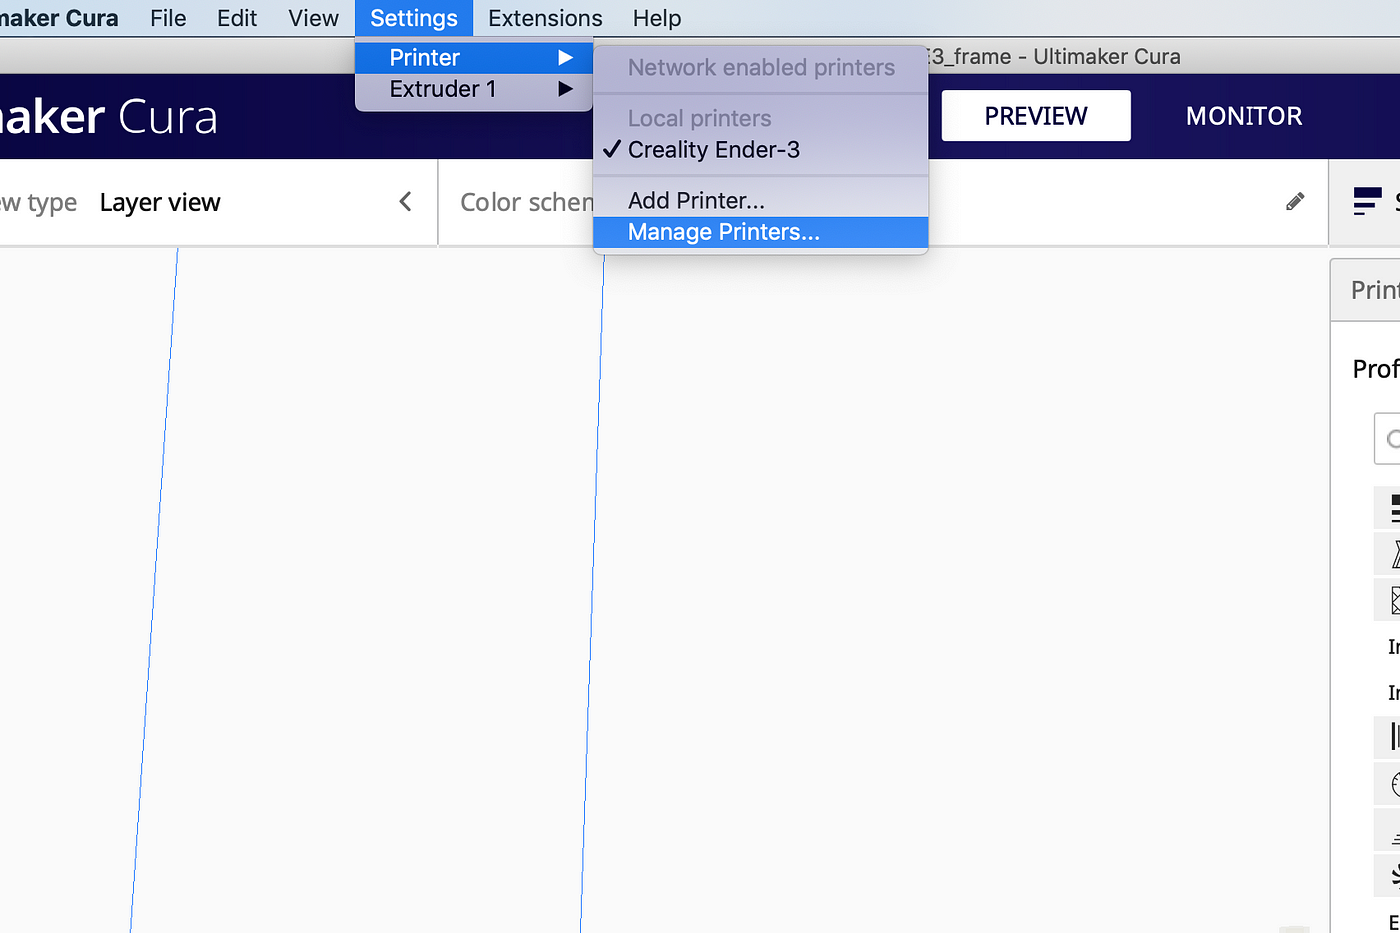
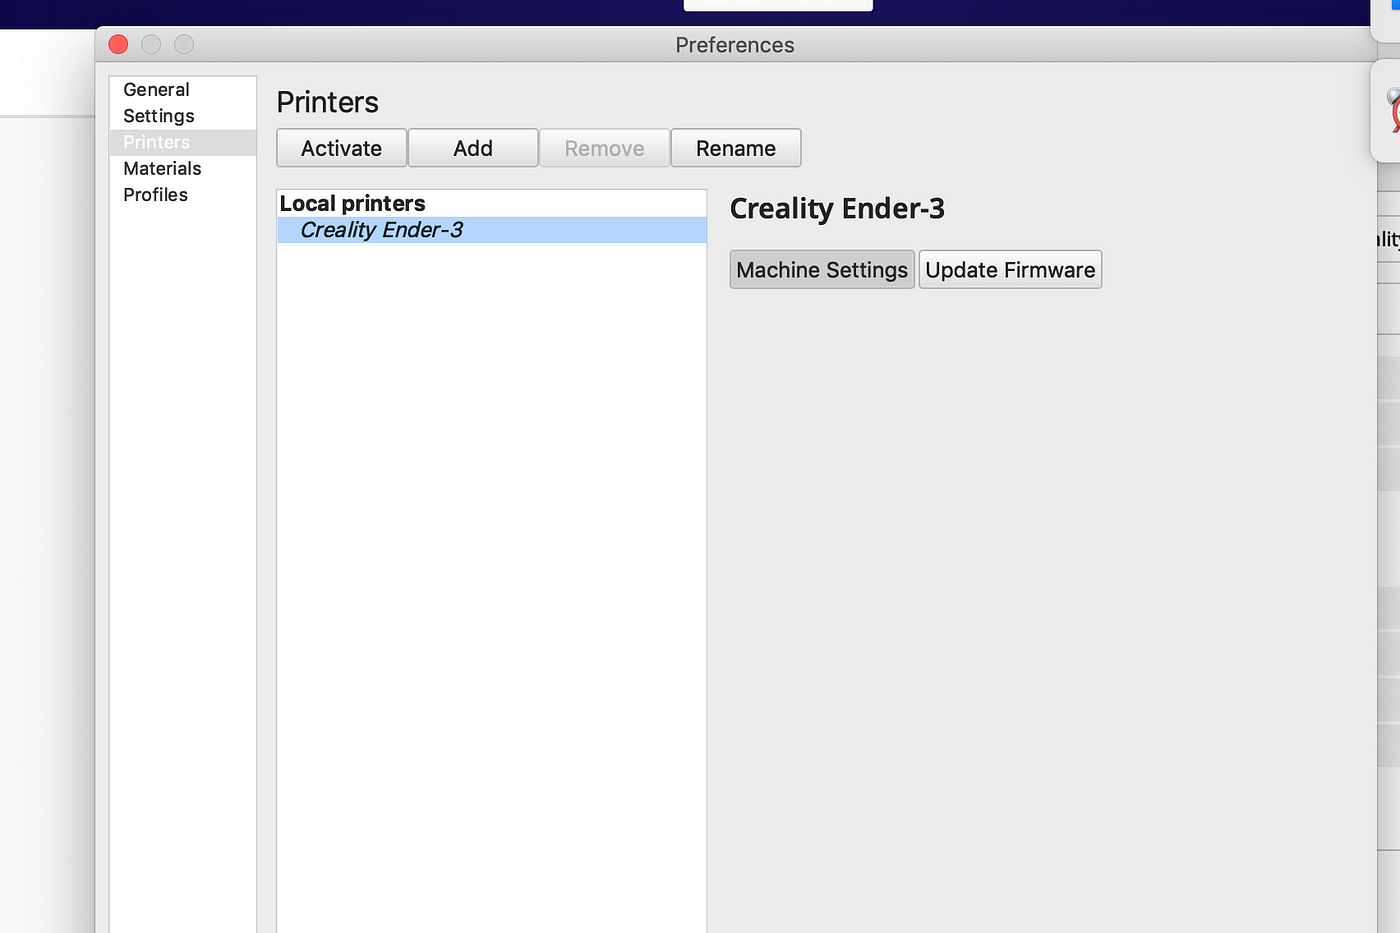
To enable bed leveling before each print, you need to instruct your 3D slicing software accordingly. When generating the file in Cura, make sure to include the instructions to level the Ender 3 right before every print. Access the "Manage Printers" window in Cura, where you will find the start G-code and end G-code sections.
In this process, you are not physically leveling the bed, but rather informing the software to compensate for your printer's current bed level automatically. By incorporating these instructions into your slicer-generated file, you eliminate the need for manual bed leveling before each print, streamlining the printing process.
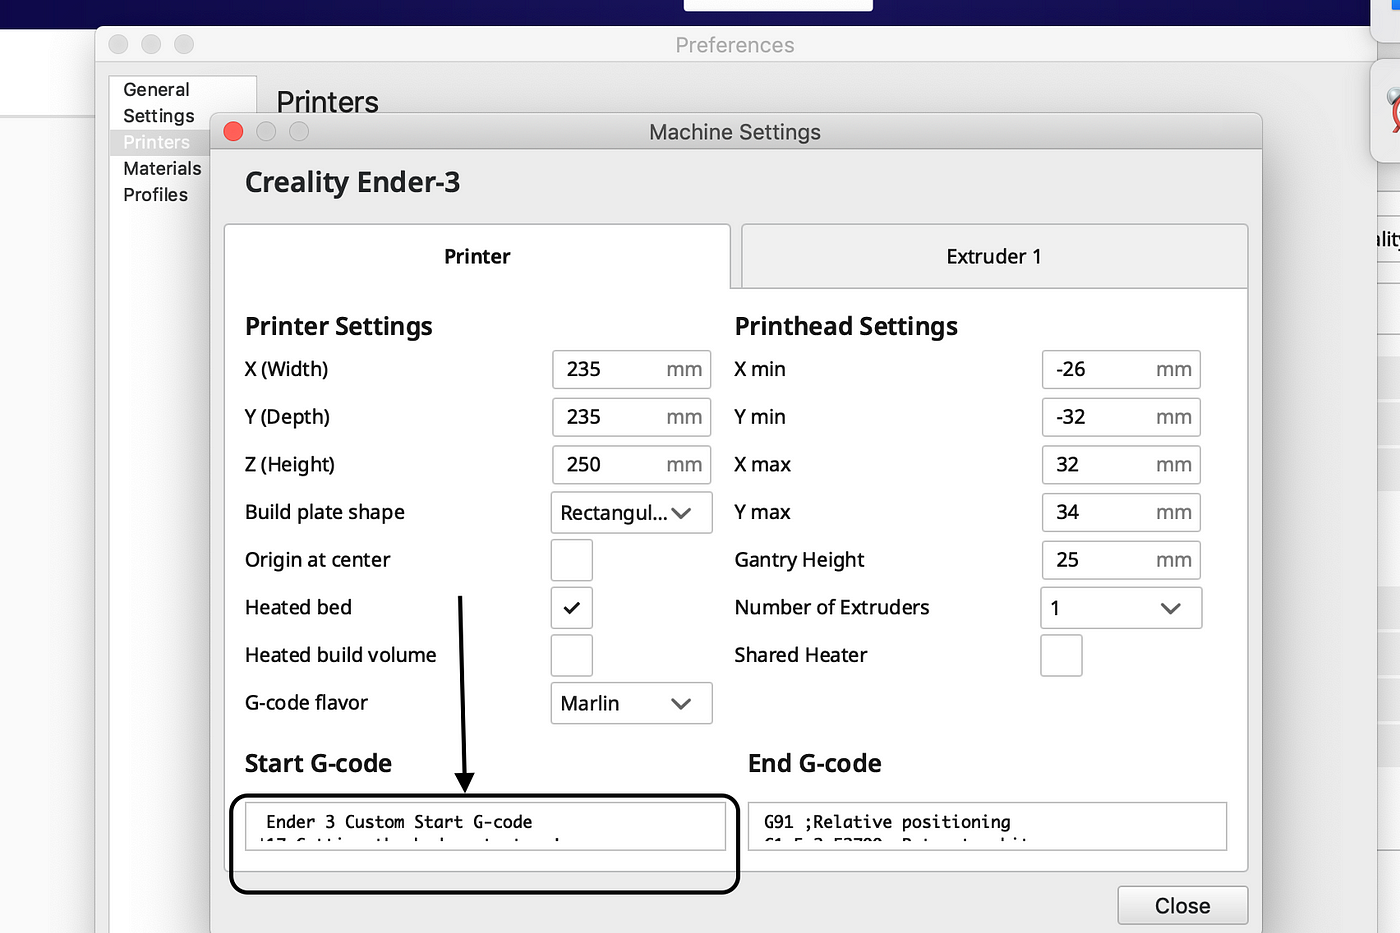
Replace the codes in there with the following:
; Ender 3 Custom Start G-code M117 Getting the bed up to temp! M140 S{material_bed_temperature_layer_0} ; Set Heat Bed temperature M190 S{material_bed_temperature_layer_0} ; Wait for Heat Bed temperature M117 Pre-heating the extruder! M104 S160; start warming extruder to 160 G28 ; Home all axes M117 Auto bed-level GO! G29 ; Auto bed-level (BL-Touch) G92 E0 ; Reset Extruder M117 Getting the extruder up to temp! M104 S{material_print_temperature_layer_0} ; Set Extruder temperature M109 S{material_print_temperature_layer_0} ; Wait for Extruder temperature G1 Z1.0 F3000 ; move z up little to prevent scratching of surface G1 X0.1 Y20 Z0.3 F5000.0 ; move to start-line position M117 LET THE PURGE BEGIN! G1 X0.1 Y200.0 Z0.3 F1500.0 E15 ; draw 1st line G1 X0.4 Y200.0 Z0.3 F5000.0 ; move to side a little G1 X0.4 Y20 Z0.3 F1500.0 E30 ; draw 2nd line G92 E0 ; reset extruder G1 Z1.0 F3000 ; move z up little to prevent scratching of surface M117 Autobots! Roll Out! ; End of custom start GCode
Now your printer is ready and better than what it was out of the box!
Creating your own models:
I would suggest that you look at tinker cad for creating basic models. I actually “re-mixed” a design from thingiverse using tinkercad with zero experience. Download Cura, it is a 3d slicer software and it can also “edit” model sizes for simple customization. Cura is also a better 3d slicing software than the one that comes with our Ender 3.
Happy printing!